Setting up your wallet
Link your wallet to start bridging.
Selecting networks and tokens
Pick any networks and token to bridge.
Bridging tokens
Move your tokens to another network.
Checking bridged tokens
See your tokens on the new network.
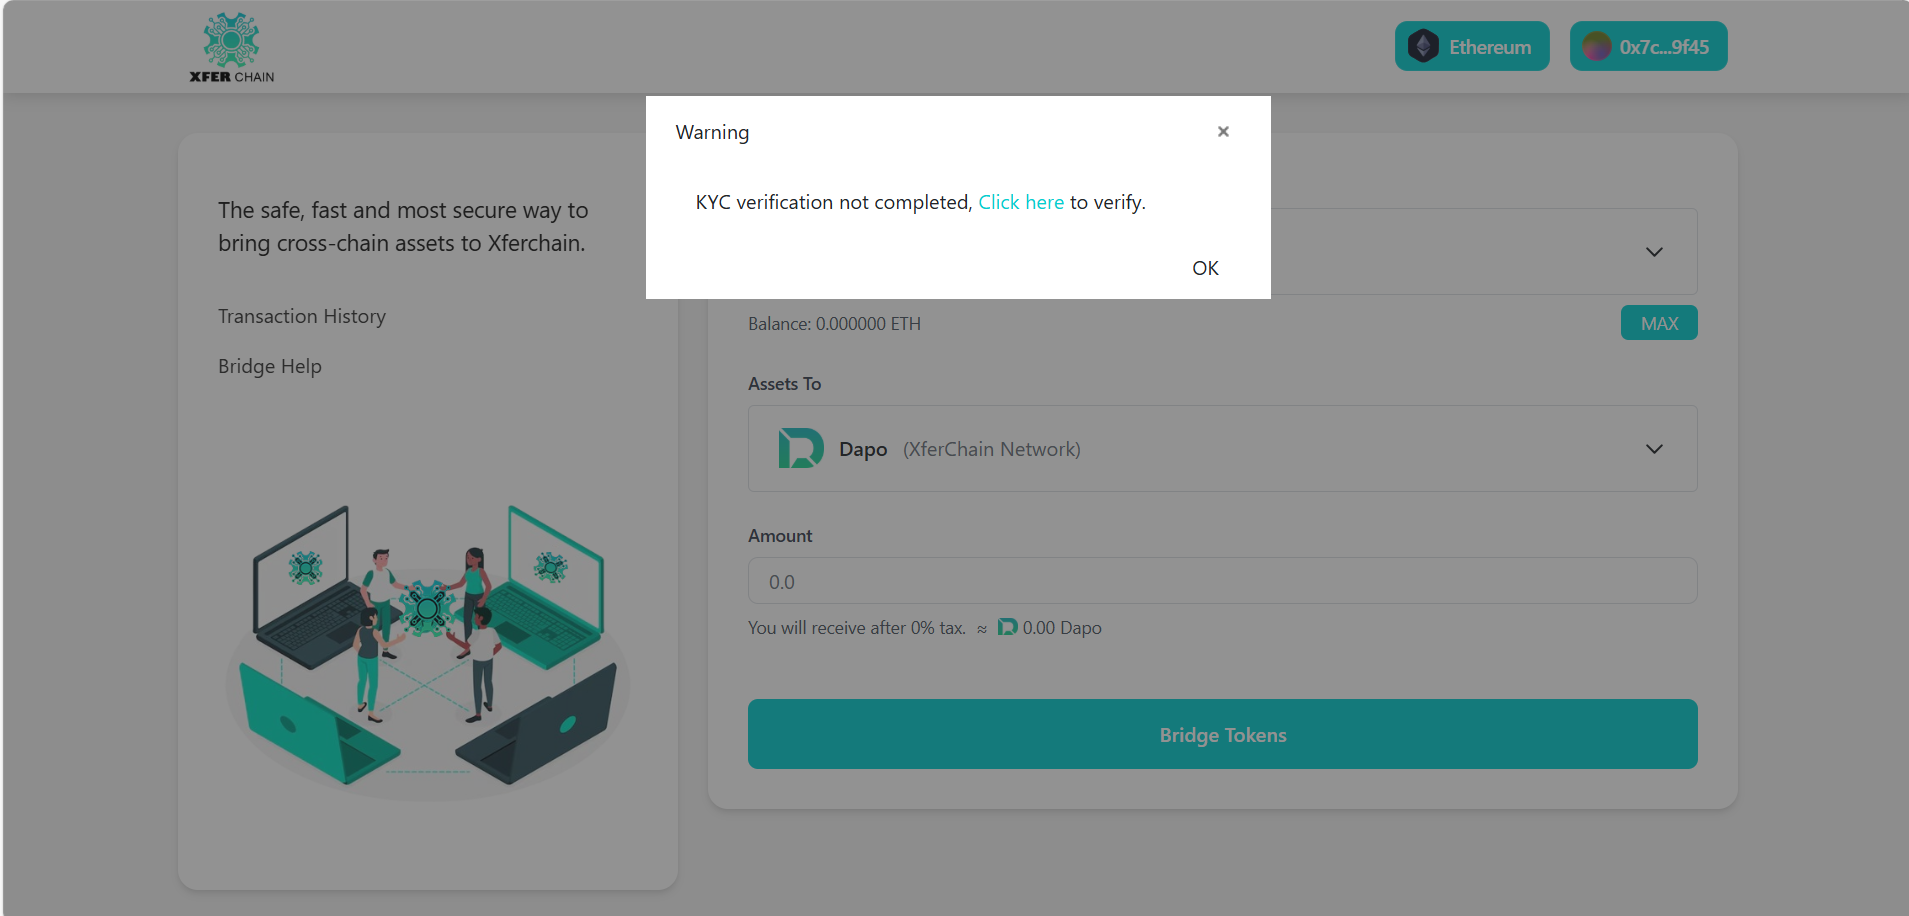
Note: Make sure your KYC is done. KYC means proving who you are. If not, go to this website to do KYC.

Without KYC, you can’t bridge tokens and might see alert like this:
STEP 1: Connect Your Wallet (MetaMask)
1. Make sure the MetaMask extension is already installed and set up in your browser.
2. Go to this website.
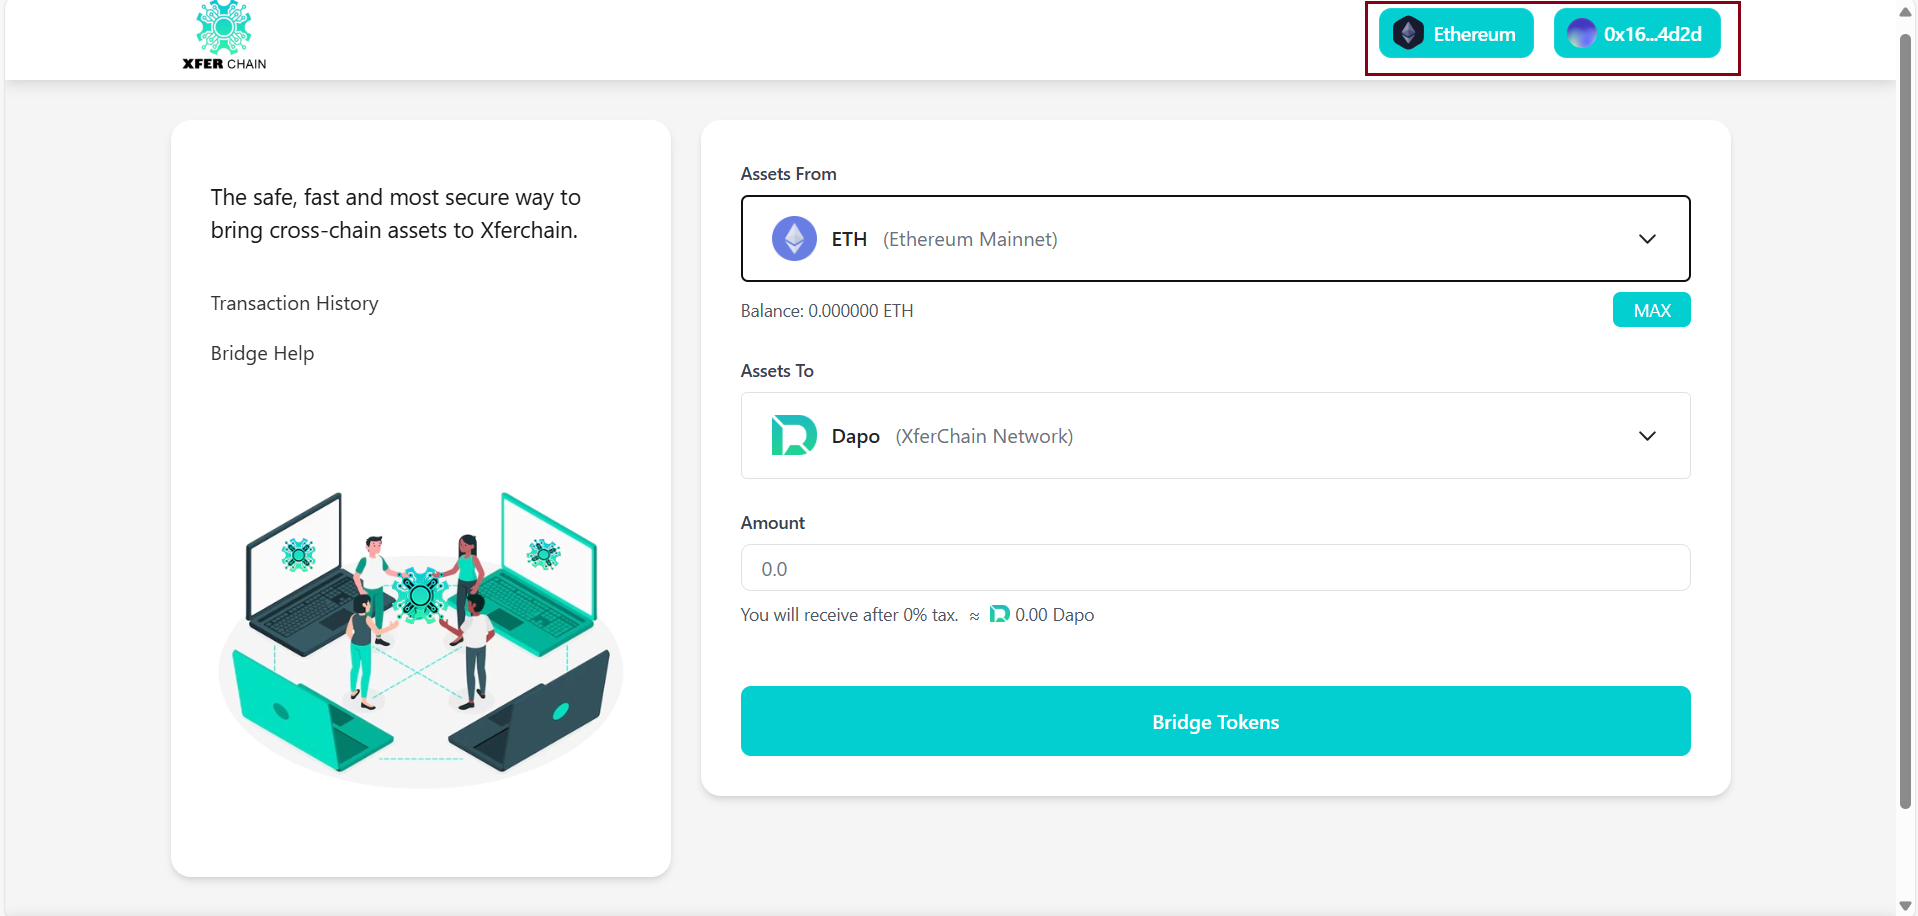
3. Click the “Connect Wallet” button at the top right.

4. Once connected, your wallet address will appear, and you can start bridging.
Check: Your wallet address (e.g., 0x123...) should now appear on the website and Network should appear on the second button. If it doesn’t, refresh the page and try again.
STEP 2: Select Networks and Tokens
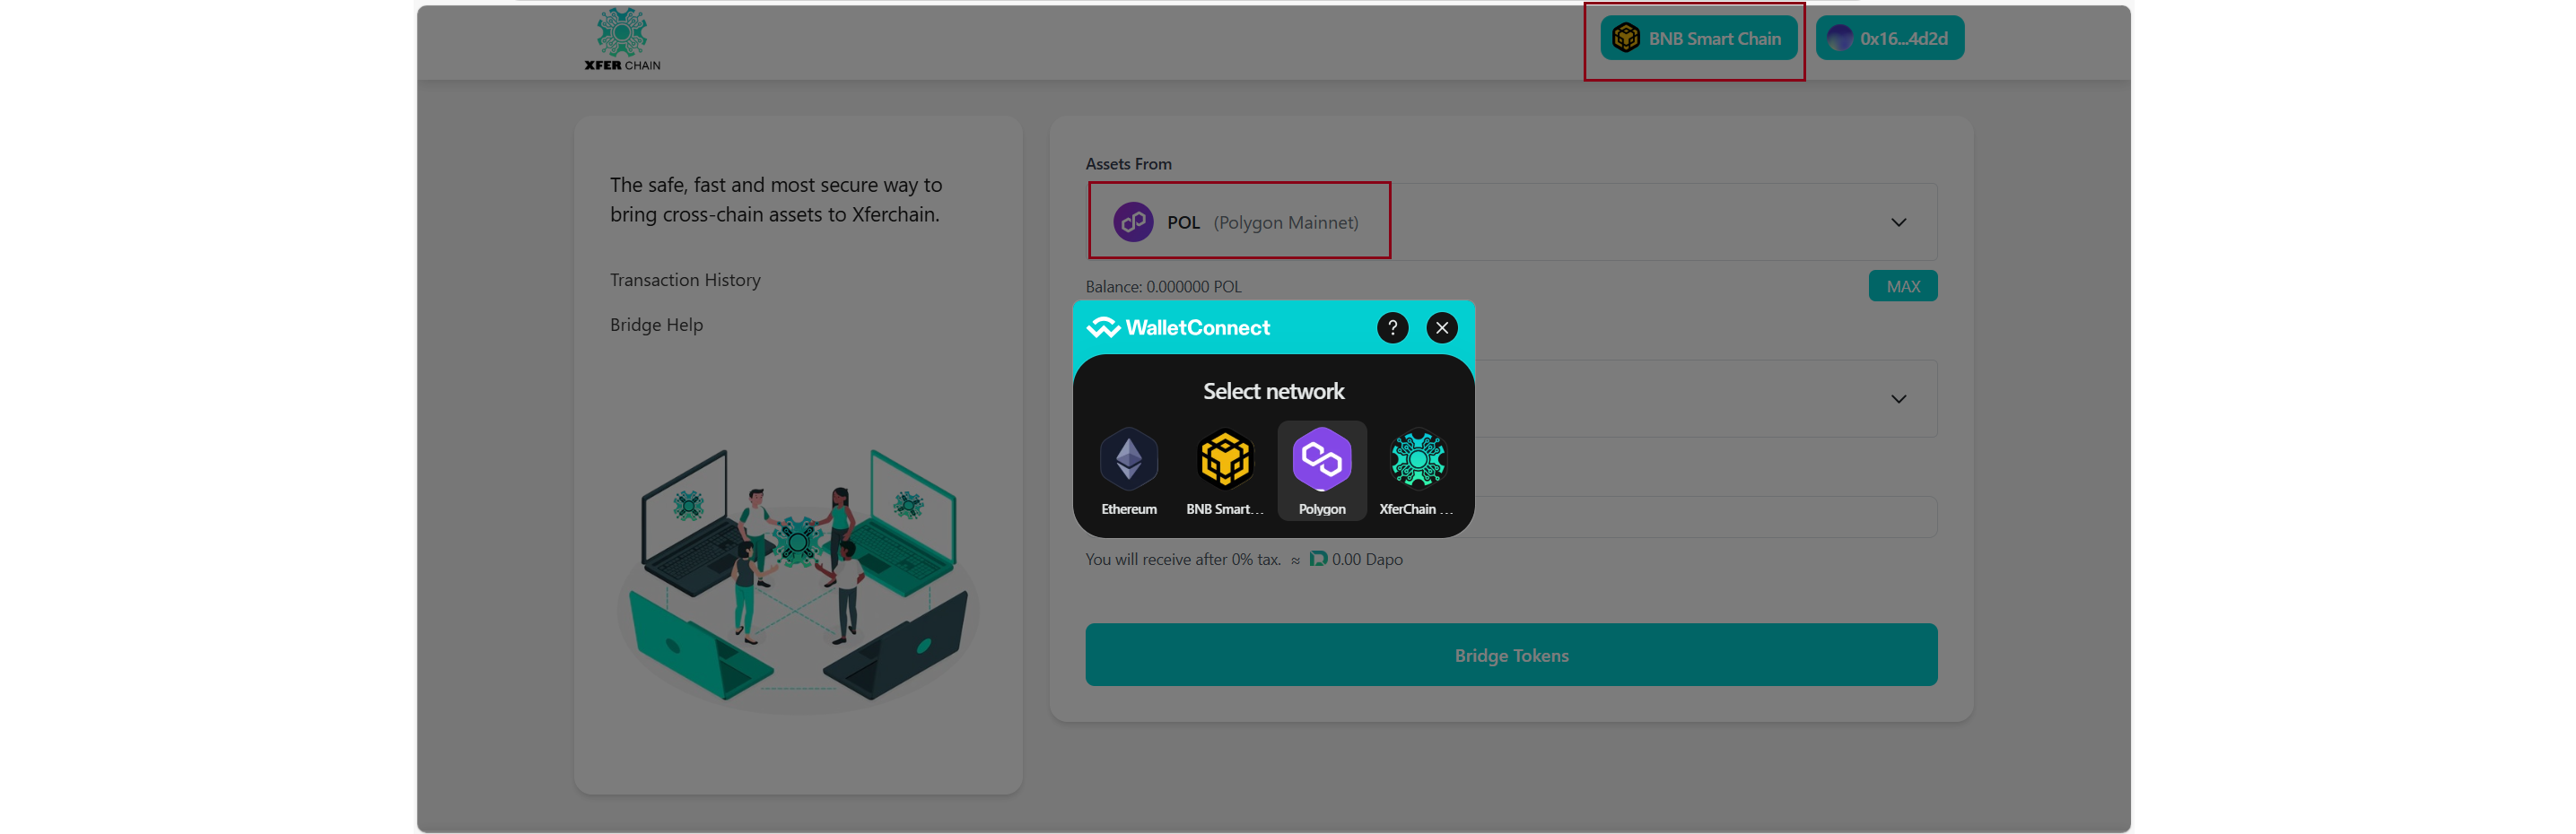
1. On the bridging page, find the network selection boxes.
2. Pick the network you’re moving tokens from, like BNB.
3. Pick the network you’re moving tokens to, like Dapo.

Check: Make sure that you are connected to the same network whose token you want to change via MetaMask... if that is not the case then click on the button above and choose the network as per your choice... then try again.
Step 3: Approve Your Tokens
1. Enter the amount of USDT tokens you want to bridge.
2. Click the "Approve" button to allow the bridge to use your tokens.

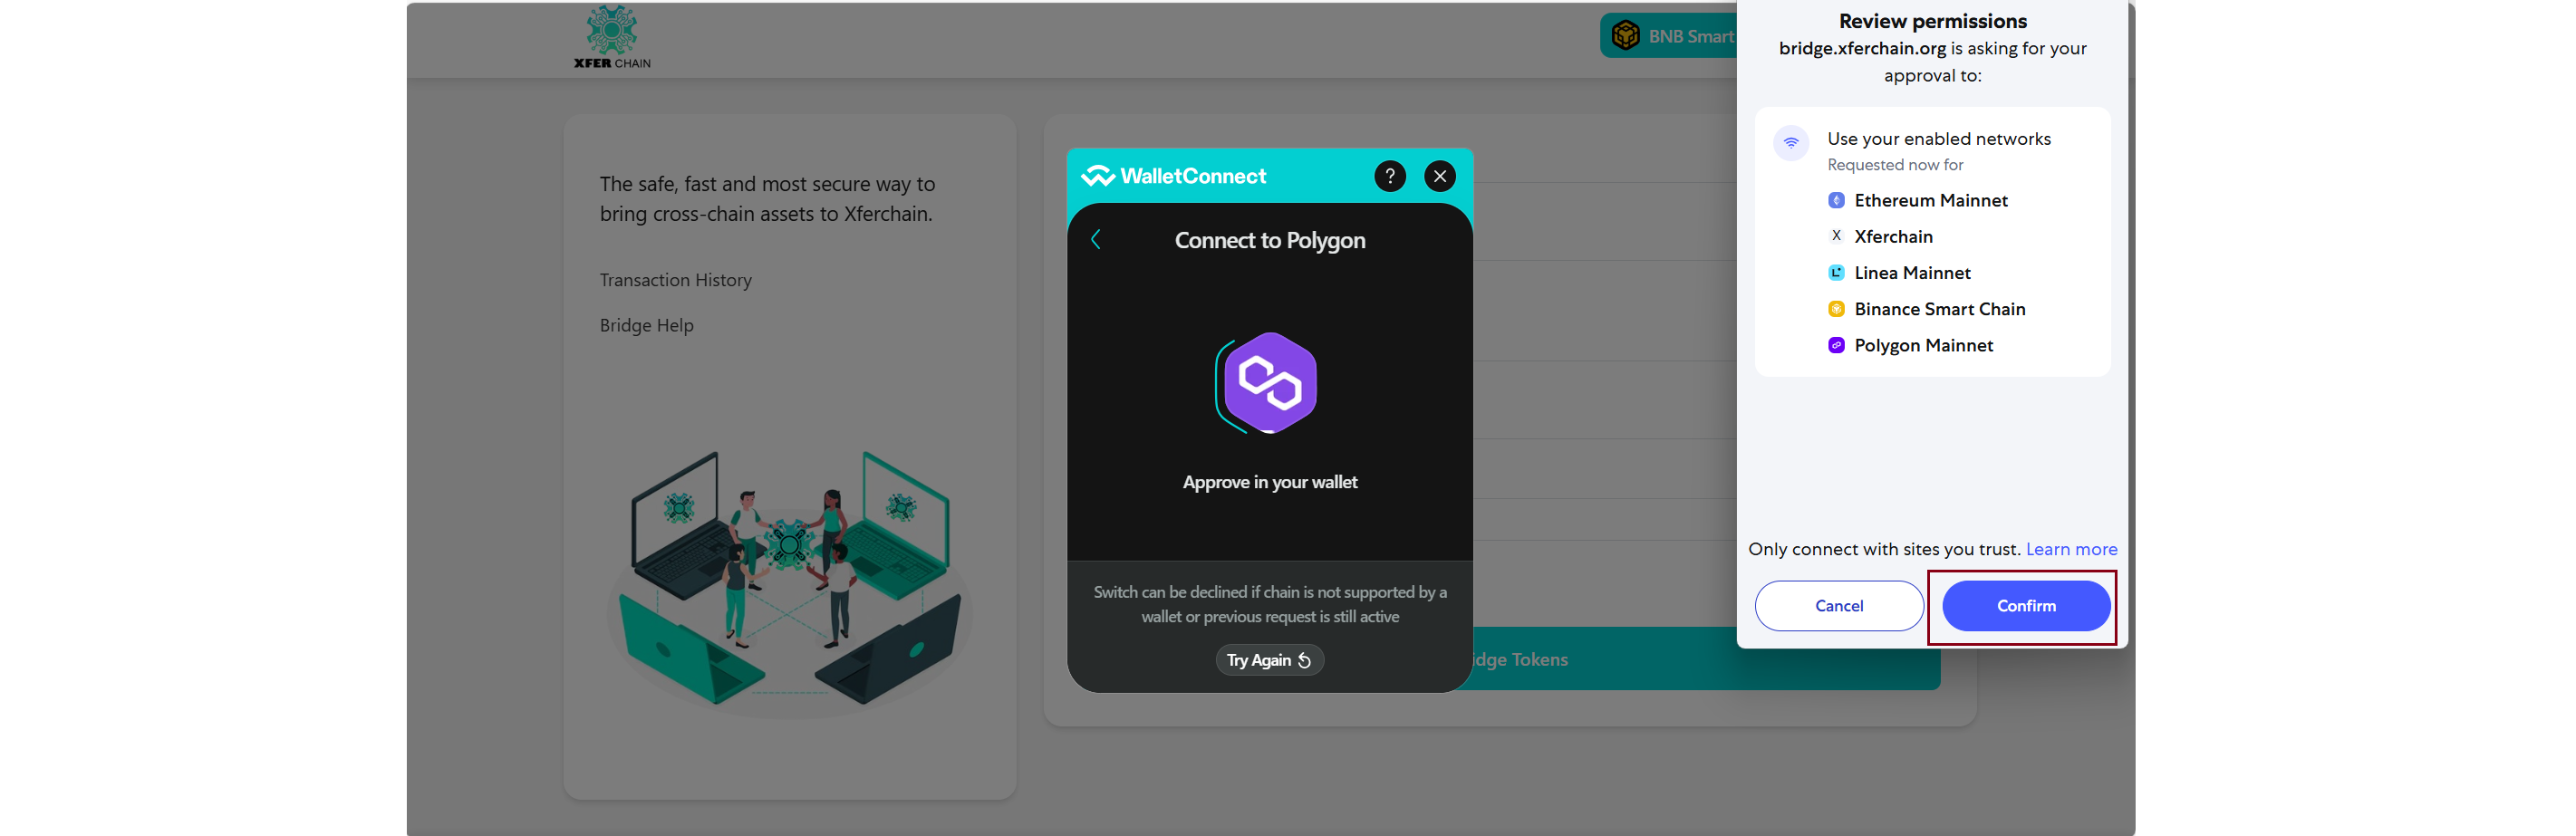
3. Confirm the approval in MetaMask.
Check: MetaMask should confirm the approval, and the website should show the Approve button as completed. If not, try approving again.
Step 4: Bridge Your Tokens
1. The website will show a fee for bridging. Make sure you have enough tokens to cover the fee.
2. Click the "Bridge Tokens" button.
3. Confirm the transaction in MetaMask.
Check: MetaMask should confirm the bridging transaction.
Step 5: Check Your Bridged Tokens
1. Wait a few minutes for the bridging to finish. It might take longer depending on the networks.
2. Go to the block explorer for the destination network (like BSCscan for BNB).
3. Type your wallet address (like 0x123...) to see your bridge transaction.
4. Switch MetaMask to the destination network (like BNB) and check your wallet.
Check: Your USDT tokens should show in MetaMask on the destination network (like BNB), and the transaction should appear on the block explorer. If not, wait a bit longer or check again.
Summary of Features
| Feature | Description |
|---|---|
| Bridge Tokens | Move tokens between any networks (like BNB to Dapo) |
| Check Bridged Tokens | See your tokens on the destination network |